Data Entry
Use the Data Entry workspace to record the services a facility actually delivered so payments match the real workload. You pick a dataset, choose the facility (organisation unit), select the reporting period, and then review or adjust the figures that feed into payments and verification.

What each column means
The table lists one row per indicator (also called a data element). Every row follows the same structure:
| Column | What you see | Can you edit it? | Is it required to save? | Extra detail |
|---|---|---|---|---|
| Data Element | The service name and description | No | — | Pulls straight from the selected dataset. The title bar shows the full text on hover. |
| Partner (set or default) | Which partner owns the results for this indicator | No | — | Shows the partner chosen in the Partner Assignments tool. If none was set, the system falls back to the facility’s default partner and displays “-”. |
| Quantity Reported | What the facility reported before validation | Yes | No, but recommended | When a facility submits monthly numbers, they appear here. You can adjust them if you received an updated register. |
| Quantity Validated | The figure confirmed during validation | Yes | Yes | This is the only field the save button checks. Leaving it blank means the row will not be submitted. |
| Quantity Externally Verified | Numbers agreed by an external verifier | Yes | No | Optional. When you enter a value it cannot be larger than the reported quantity. |
| Tariff | The price per unit for the selected dataset, facility, and period | No | — | Pulled from Tariff Configuration. If tariffs are missing you will see a configuration message instead of the grid. |
| Total | Auto-calculated amount = Quantity Validated × Tariff | No | — | Updates live while you type so you can confirm the payout value. |
| Action | Buttons to Set/Edit, Save, Cancel, or a Lock icon | Yes | — | Controls how you edit each row. If the period is locked the button switches to a lock symbol and you cannot change values. |
A running grand total appears in the footer so you know the overall payout for the selected period.

Before you begin
Confirm your access
- Sign in with an account that has permission to enter data for the facility.
- Make sure the facility is assigned to the dataset through Partner Assignments or in DHIS2. You will only see organisation units that are linked to the dataset and to your user account.
- Verify the dataset has a tariff configuration. Without a tariff the form stays hidden and a message will ask you to contact the administrator.
Understand how the selectors work

-
Dataset
- The list only shows internal tariff datasets, filtered to the products used in the payment workspace.
- You can search by name or ID. Period type (Monthly, Quarterly, etc.) and expiry days appear under each option.
- Picking a new dataset clears the organisation unit and the period on purpose. This prevents mixing a facility with a dataset it does not own.
-
Organisation unit
- The selector opens a tree of every unit your account is allowed to view.
- Units that are not assigned to the dataset are greyed out or hidden.
- You can search by name, scroll the tree, or collapse branches to focus on the relevant district.

- Period
- The period dropdown only activates after a dataset is chosen because it respects the dataset’s period type and expiry rules.
- Current periods are hidden in this workspace; you can only enter data for completed periods.
- Use the arrows to move between years. The list filters out future periods beyond the dataset’s allowed window.
- Clear All Selections resets everything if you picked the wrong combination.
Selections are stored in the page URL, so refreshing the page keeps your choices during the same session.
Period status and deadlines

An Availability badge appears above the grid when the data loads:
- Active: Data entry is fully open.
- Expiring Soon: You are inside the grace window; keep an eye on the countdown.
- Expired: Editing is blocked and every action button shows a lock.
- Lock Exception: The period expired but an administrator granted extra time. A warning badge explains that you can still edit.


Load the form step by step
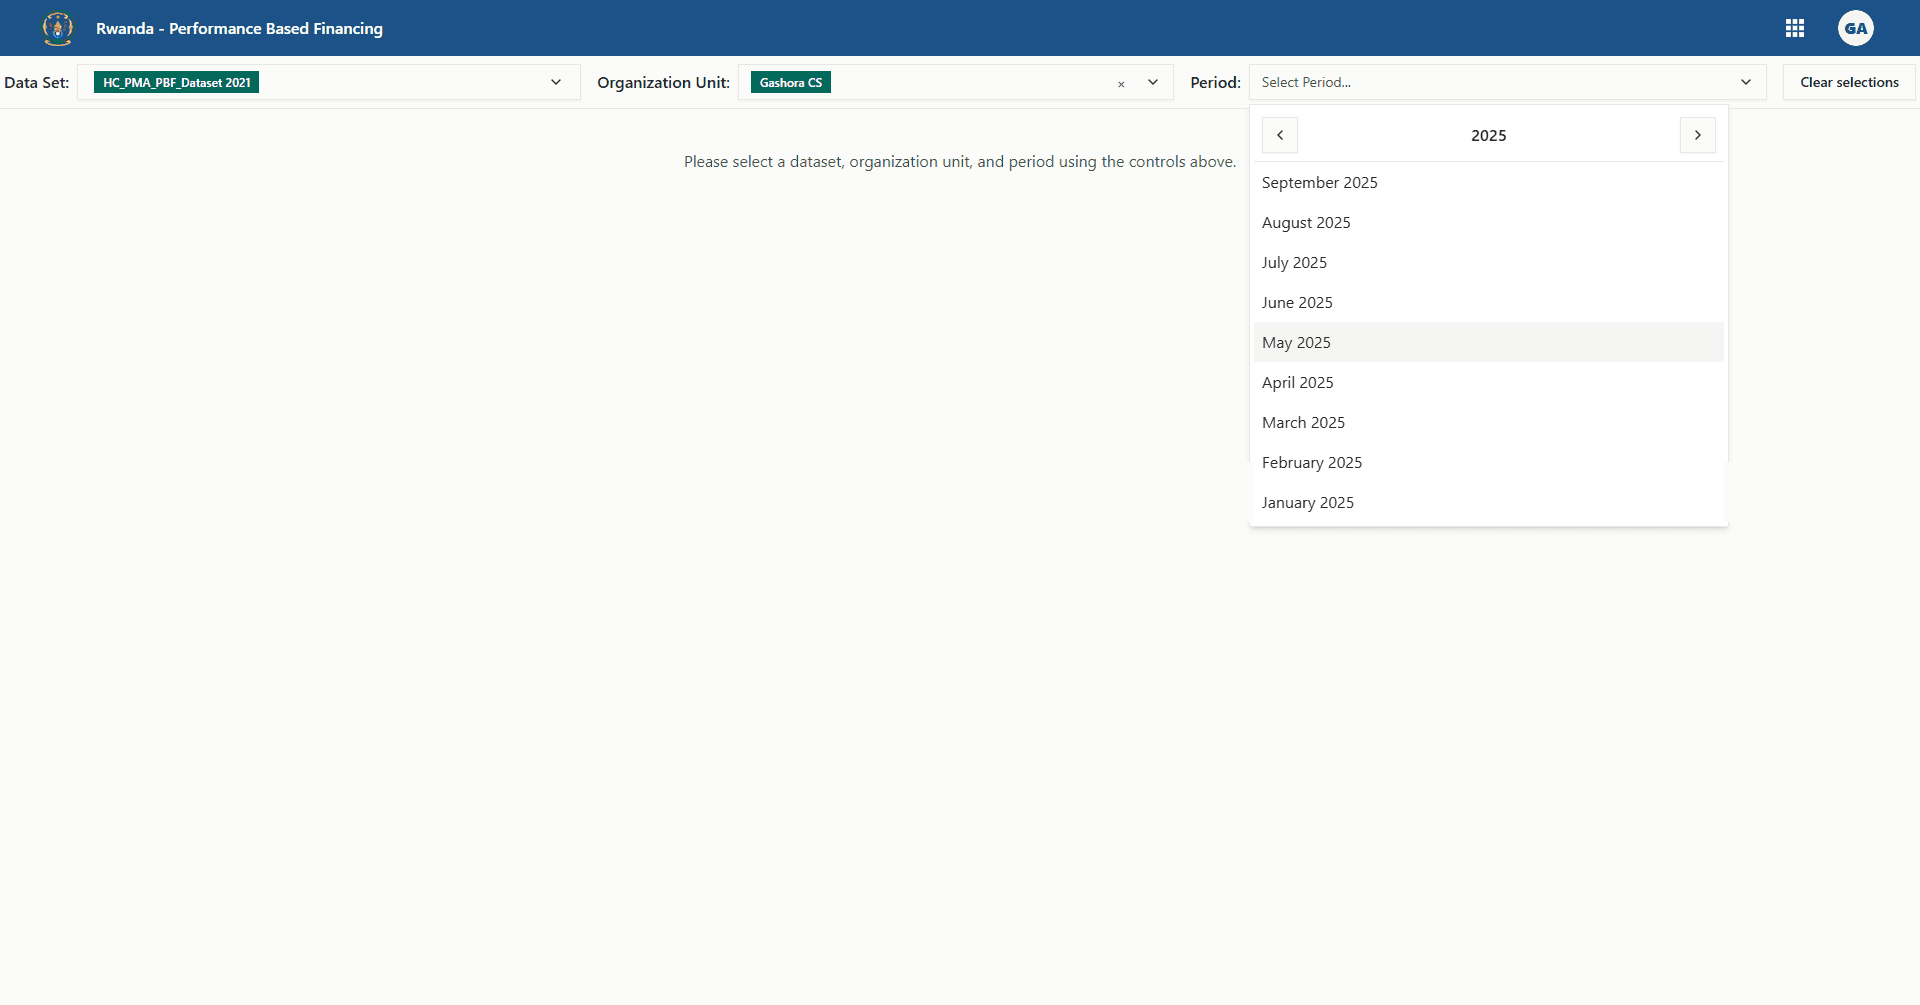
From the left navigation choose Data Entry. The selector header is always visible at the top of the page.
Click the dataset dropdown, search if needed, and choose the dataset that matches your assignment. The badge shows the period type and expiry information so you can double-check you selected the right form.
Open the organisation unit dropdown, browse the tree, or type in the search field. Only units linked to the dataset and to your user appear. Select the facility you will validate.
Use the arrows to move to the correct year, then click the period. Only completed periods are displayed. Once the period is set the grid loads automatically.
When all three selectors are filled the system fetches the dataset rows. A blank table means no numbers were captured yet. You are ready to start editing.

Entering and updating quantities
Edit a single row
- Click Set (or Edit) in the Action column.
- Fields become editable for that row.
- Update Quantity Reported, Quantity Validated, and Quantity Externally Verified as needed.
- Click the green Save icon to commit the row or the grey Cancel button to revert.

Edit many rows together
- Use the Edit All button at the top of the grid to unlock every row at once.
- When you are finished, press the main Save button. It saves all rows that have a validated quantity.
- Click Cancel All to discard changes and return to view mode.

Validation rules
- Quantity Validated cannot be empty if you want to save the row. Rows without a validated number are skipped.
- Quantity Validated and Quantity Externally Verified cannot be greater than Quantity Reported. If you try, the system shows a small red toast and keeps the previous value.
- Backend validation errors (for example if another user saved different data moments earlier) appear above the grid. The affected rows are highlighted with a red strip and the error message displays under the indicator name.
Tip: Save frequently when working with many rows so you do not lose progress if your internet connection drops.
Totals and currency
- Tariff values come from the Tariff Configuration workspace. If the configuration is missing you will see a red warning instead of the table.
- Total updates instantly while you type. It always uses the validated quantity because that is the figure paid out.
- A grand total shows at the bottom of the grid so you can reconcile with invoices later.
Partner information
- The Partner column confirms which partner will receive credit for the validated quantity.
- If the partner was assigned explicitly, you will see that name.
- If the dataset is configured to use the facility’s default partner, the column shows that default value.
- If no partner is linked you will see a dash. Contact the national team before saving in that case so the payout goes to the correct partner.
Saving results
- The green Save button in the table header saves every row currently in edit mode.
- A circular spinner appears while the save request is in progress.
- If the system partially saves (for example, one row failed validation), successful rows stay saved, failed rows switch back to edit mode, and the error panel tells you what to correct.
Working examples
Use these annotated screenshots to recognise the main states:
Troubleshooting
-
The grid does not load
Check that the dataset has tariffs configured for the chosen facility. If not, you will see a configuration warning instead of the table. -
My facility is missing
Make sure the facility is assigned to the dataset in the Partner Assignments tool or DHIS2, and that your account has access rights to that facility. You can only pick from the enabled organisation unit list. -
I cannot edit anything
Confirm the period is still active. If the badge shows “Expired”, editing is blocked. Ask an administrator for a lock exception if you still need to update the data. -
Numbers keep jumping back
Another user may have saved updated values. Reload the form to pull the latest data before trying again. -
Need to start over
Use Clear All Selections in the header. This resets the dataset, organisation unit, and period so you can pick a new combination.